Where all aviation has its classic ABC of “aviate – navigate – communicate,” instrument flying has its own twist. We could call these “maneuvers – procedures – communications.” They are the building blocks of instrument flying and they atrophy just like any other flying skill. While you can’t practice them completely at your desktop, you can keep at least the first two basically in tune. That is, so long as you treat this non-loggable desktop time as serious IFR practice.

Beefing up the Scan
The “maneuvers” part of IFR is about physically manipulating the aircraft in space, such as making a climbing turn or transitioning from level approach speed clean to approach descent with flaps and gear down, etc. The desktop is great to hone two core parts of this: the instrument scan and flying by the numbers.
A good scan is all about technique and discipline. What scan technique you use for a particular phase of flight isn’t nearly as important as having something that works for you. Most high-time instrument pilots can’t tell you how they scan the instruments. They have evolved the scan equivalent of “managing by walking around”: Their eyes keep moving and notice stuff that matters.
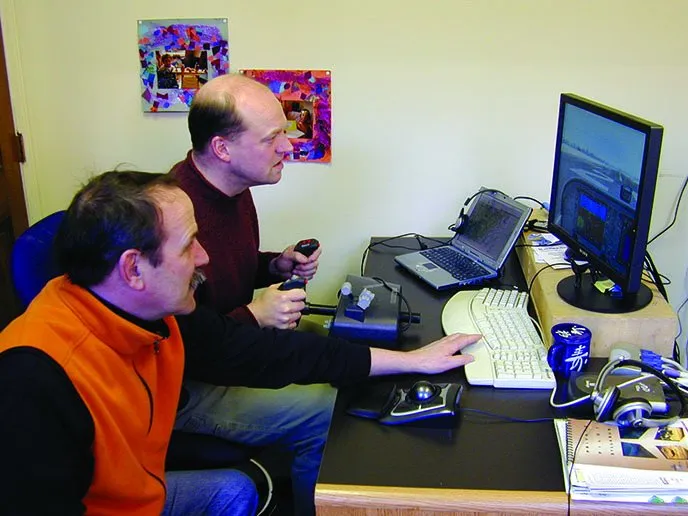
The simulator is a great way to practice keeping your eyes moving. Without physical or auditory clues, you have to keep looking from instrument to instrument to notice the aircraft has deviated. Get lazy and you’ll start a descending turn when you meant to just brief the approach plate.
If your scan is getting lax, start with the “one-action” system. First, verify the attitude indicator is correct for the maneuver you want, such as straight-and-level and then cross-ref any other appropriate instruments. Second, turn to do one thing—tune the kilohertz part of a new frequency, read the title of a chart to make sure it’s the right one, whatever. Third, return to the attitude indicator to verify it’s still where it should be. If it is, go back to do one more action. If it isn’t, correct the problem. Pretty soon you’ll be doing two or three things naturally in-between your visual return to the instruments. After some more time, your comfortable scan will be back.
Because the sim is just a computer, it flies by the numbers. Know the pitch and power settings that get you the performance you want and use them every time. It works every time in the sim and it gets you close every time in the airplane. Close is fine in real life. Instrument flying can be thought of as an endless series of tiny corrections, ideally so small no one even notices them.
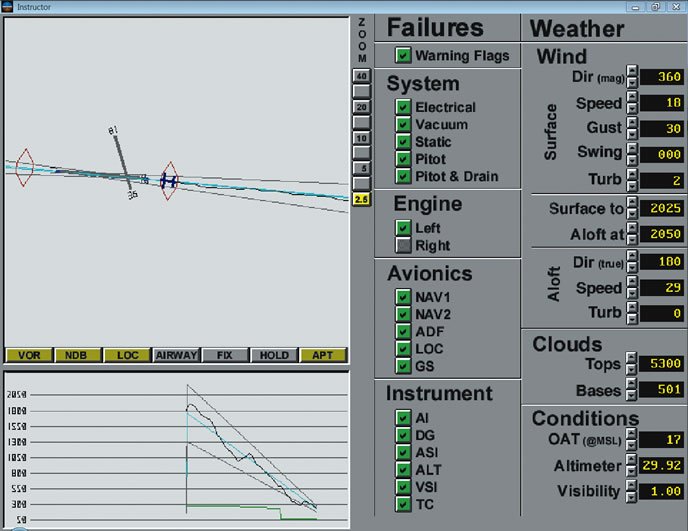
Of course, one thing you should notice are failures. Every sim we know can simulate failures. While it’s good to have some of these creep in, try not to get carried away. It’s best to fly a session with some permenantly-failed instruments first—fly a whole session with no AI. Then set things up so failures happen randomly and not all that often. That way they’ll really be a surprise and a useful test of your readiness.
As an aside, though, don’t bother being gentle on the controls of your desktop sim. They rarely respond to subtlety the way a real aircraft does and you’ll just frustrate yourself. Be ham-fisted on the desktop if it helps you respond quickly to deviations. The real aircraft will shave off this habit quickly.
Practicing Procedures
The “Procedures” part of instrument flying is turning the art that is the instrument plate into specific courses and altitudes flown by the aircraft. It’s what we mean by “flying the black line” and it’s a great use for the sim. But to do this work effectively, you want to do more that just dial in the localizer and fly the final approach.
Part of your procedures are how you find the approach you want in the book and brief the plate. You should be entering all the frequencies you would use, even if there’s no ATC talking in your ear (and some home sims can provide this, too). Set up your radio stack or correct your altimeter and heading indicator as part of your standard procedure. Practice them at your desktop in the same order you do them in the airplane and you’re far less likely to miss stuff in the real cockpit. And you’ll be faster at setting up the approach, too.
Take advantage of the fact that you can fly approaches to far-flung destinations you’d never visit in the real airplane. If you need some inspiration. try flying the approach shown in each one of our Clinics or Killer Quizzes. We even print the approach plate for you.
Don’t forget that approaches are just part of the game. Always start on the ground and fly a departure procedure. Pilots rarely practice these and then get bitten for it. Toss in a hold or two. There’s no need to hand-fly in real time the hour between airports the way you must for real. Just don’t skip over any parts where you’ve got to maintain a good scan and aircraft control while following a multi-step procedure.
Some sims have the ability to download and use real-time weather. This can be a great practice tool when you’re working alone as it forces you to make planning and approach decisions in response to the conditions. Even if your system can’t do this automatically, you can find a part of the country where the weather is low, set up the sim with weather for that area and then fly those approaches.

Software Selection
So what software is the best for practice? There are really four choices: Elite, ASA’s On Top, X-Plane and Microsoft FSX. We recently helped out in a survey of home desktop simulators for our sister publication, Aviation Consumer, where On Top and X-Plane were pegged the best choices depending on your needs.
On Top took top honors for out-of-the-box simplicity and compatibility with older computers. It has just the visuals you need—the cockpit instruments are easy to read and you can see the runway lights emerging from the mist—but nothing else.
For the tens of thousands who fly with a Garmin GNS 430, On Top includes a fully-functional 430 in a Cessna, Piper and Bonanza cockpit using a plug-in from a company called Reality XP. It’s the non-WAAS 430, but ASA is looking at updating that soon. On Top also comes with a database of all the approach charts to match the 430 simulator database. This is a real plus as the database is locked in time (and several years old) so it gets harder and harder to find matching charts. On Top requires Windows and sells for $149.95 (www.asa2fly.com).
X-Plane (www.x-plane.com) is more a flight simulation game than a purpose-built trainer. But it has fantastic visuals, realistic flight response and thousands of cockpits to download. At $29, it’s also a bargain. The downside are the avionics. For simple VORs or an ADF, it’s fine as is (although the on-screen knobs are a bit small with smaller monitors and some cockpits). The built-in “Gamin 430” replicates very few of the real unit’s functions. We wouldn’t bother with it for flight training. Same with the built-in Avidyne Entegra. However, the same Reality XP plug-in used by On Top is available for X-Plane with a 430W or 530W for $49.95 (www.reality-xp.com). It takes some configuring, but you get near to a real Garmin GPS. X-Plane can chew up computer resources, but it can run on lesser machines with reduced visuals. In also runs natively on Windows, Macs or Linux.
Microsoft’s Flight Simulator X (FSX) can also still be had for about $25 (although Microsoft is no longer making it). Cockpit realism falls somewhere between X-Plane and On Top, as does ease of use. The Bendix-King silver crown avionics are more realistic, which is a plus if that’s what you’re flying in the real world. All the FSX aircraft can display a “Garmin 500” GPS that is a rough facsimile to the real thing; however the same Reality XP plug-in can be added to FSX for a much more realistic panel. FSX is more demanding in computing power and is only (of course) for Windows.
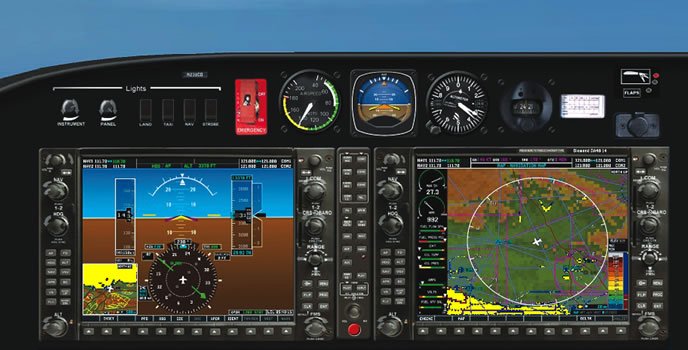
If you fly a glass cockpit, you have an extra hurdle with desktop simulators. Some programs simulate glass panels, but with varying levels of fidelity. Most are unlike the real cockpit to such a degree their value for proficiency is marginal at best. On Top has a G1000 in the Cessna 182, but it’s locked in reversionary mode (engine instruments on the PFD) and the GPS functions are actually done by using the Reality XP GNS 430 on an inset screen where you’d normally see the G1000 PFD flight plan. We wouldn’t even bother practicing with this. X-Plane fares little better. There’s no G1000 option, and a basic Avidyne Entegra might be a helpful scan trainer, but little else.
FSX offers a more realistic G1000 in the Cessna 172, Mooney Bravo and Beech Baron. It gives you both MFD and PFD in a format that’s probably good enough to practice your G1000 scan and some basic procedures. But it’s still not an accurate representation for many of the MFD functions. We think it’s of marginal utility for practice.
Serious G1000 or Avidyne Entegra practice can be done if you have a relatively powerful home computer and SimAvio (www.flythissim.com). Sim Avio is a stand-alone program that offers a full G1000 (non syn-vis) cockpit. An Entegra Rev 8 version is almost complete as well. The idea is you run both SimAvio and X-Plane at once on either one powerful gaming computer or two, networked, moderately powerful ones. SimAvio shows the cockpit and X-Plane show the view and responds to the flight controls. We saw a demo and were impressed, but didn’t have the computing horsepower to try it on our desk. The core program is $39.95, plus $98.95 for each aircraft manufacturer (so you get all Cessna singles, say, for one price). You must already be using X-Plane.
Pick One and Fly
A required add-on for any of these systems is a basic yoke and throttle quadrant. The CH Flight Sim Yoke is a good choice and will set you back about $110. Once you have that and the software of your choice, you’ll be ready to fly. The next step is setting up a regular schedule to do it and having the discipline to do it well.
